Getting started
Introduction
Open Dynamic Export is a Node/TypeScript project implementing dynamic export control/solar curtailment of inverters. It aims to solve these use cases:
- dynamic connection requirements (CSIP-AUS/SEP2/IEEE 2030.5) of various Australian energy distributors (DNSPs)
- fixed/zero export limitations (e.g. 1.5kW export limit)
- two-way tariffs (e.g.time based) export limitation
- negative feed-in (e.g. Amber) export limitation
Architecture
Setpoints
The system uses one or more "setpoints" to set the operating envelope of the site. All setpoints are restrictive, that is a combination of multiple setpoints will evaluate all setpoints and enforce the most prohibitive value of each control type at any one time. Learn more about configuring setpoints.
Inverters
The system supports one or more inverters to measure the site's generation metrics and control the power output. Learn more about configuring inverters.
Site meter
The system supports one site meter to measure the site's load and export metrics. Learn more about configuring site meter.
Install
Clone Git repo
Copy
.env.exampleand rename it to.envand change the values to suit your environmentIn the
/configfolder, make a copy of theconfig.example.jsonfile and rename it toconfig.json. Update it with the relevant values, see the "Configuration" section for more details.
Use Node or Docker to run the project.
Node
You can run the Node project directly with the Node.js runtime.
Install dependencies with
npm installBuild the project with
npm run buildRun the project with
npm start
Docker compose
Run
docker compose up -dto use from the Docker Hub image (optionally rundocker compose up -d --buildto build the image from the source code)Optionally uncomment the
influxdbservice in thedocker-compose.ymlfile to enable logging to InfluxDB
Web UI
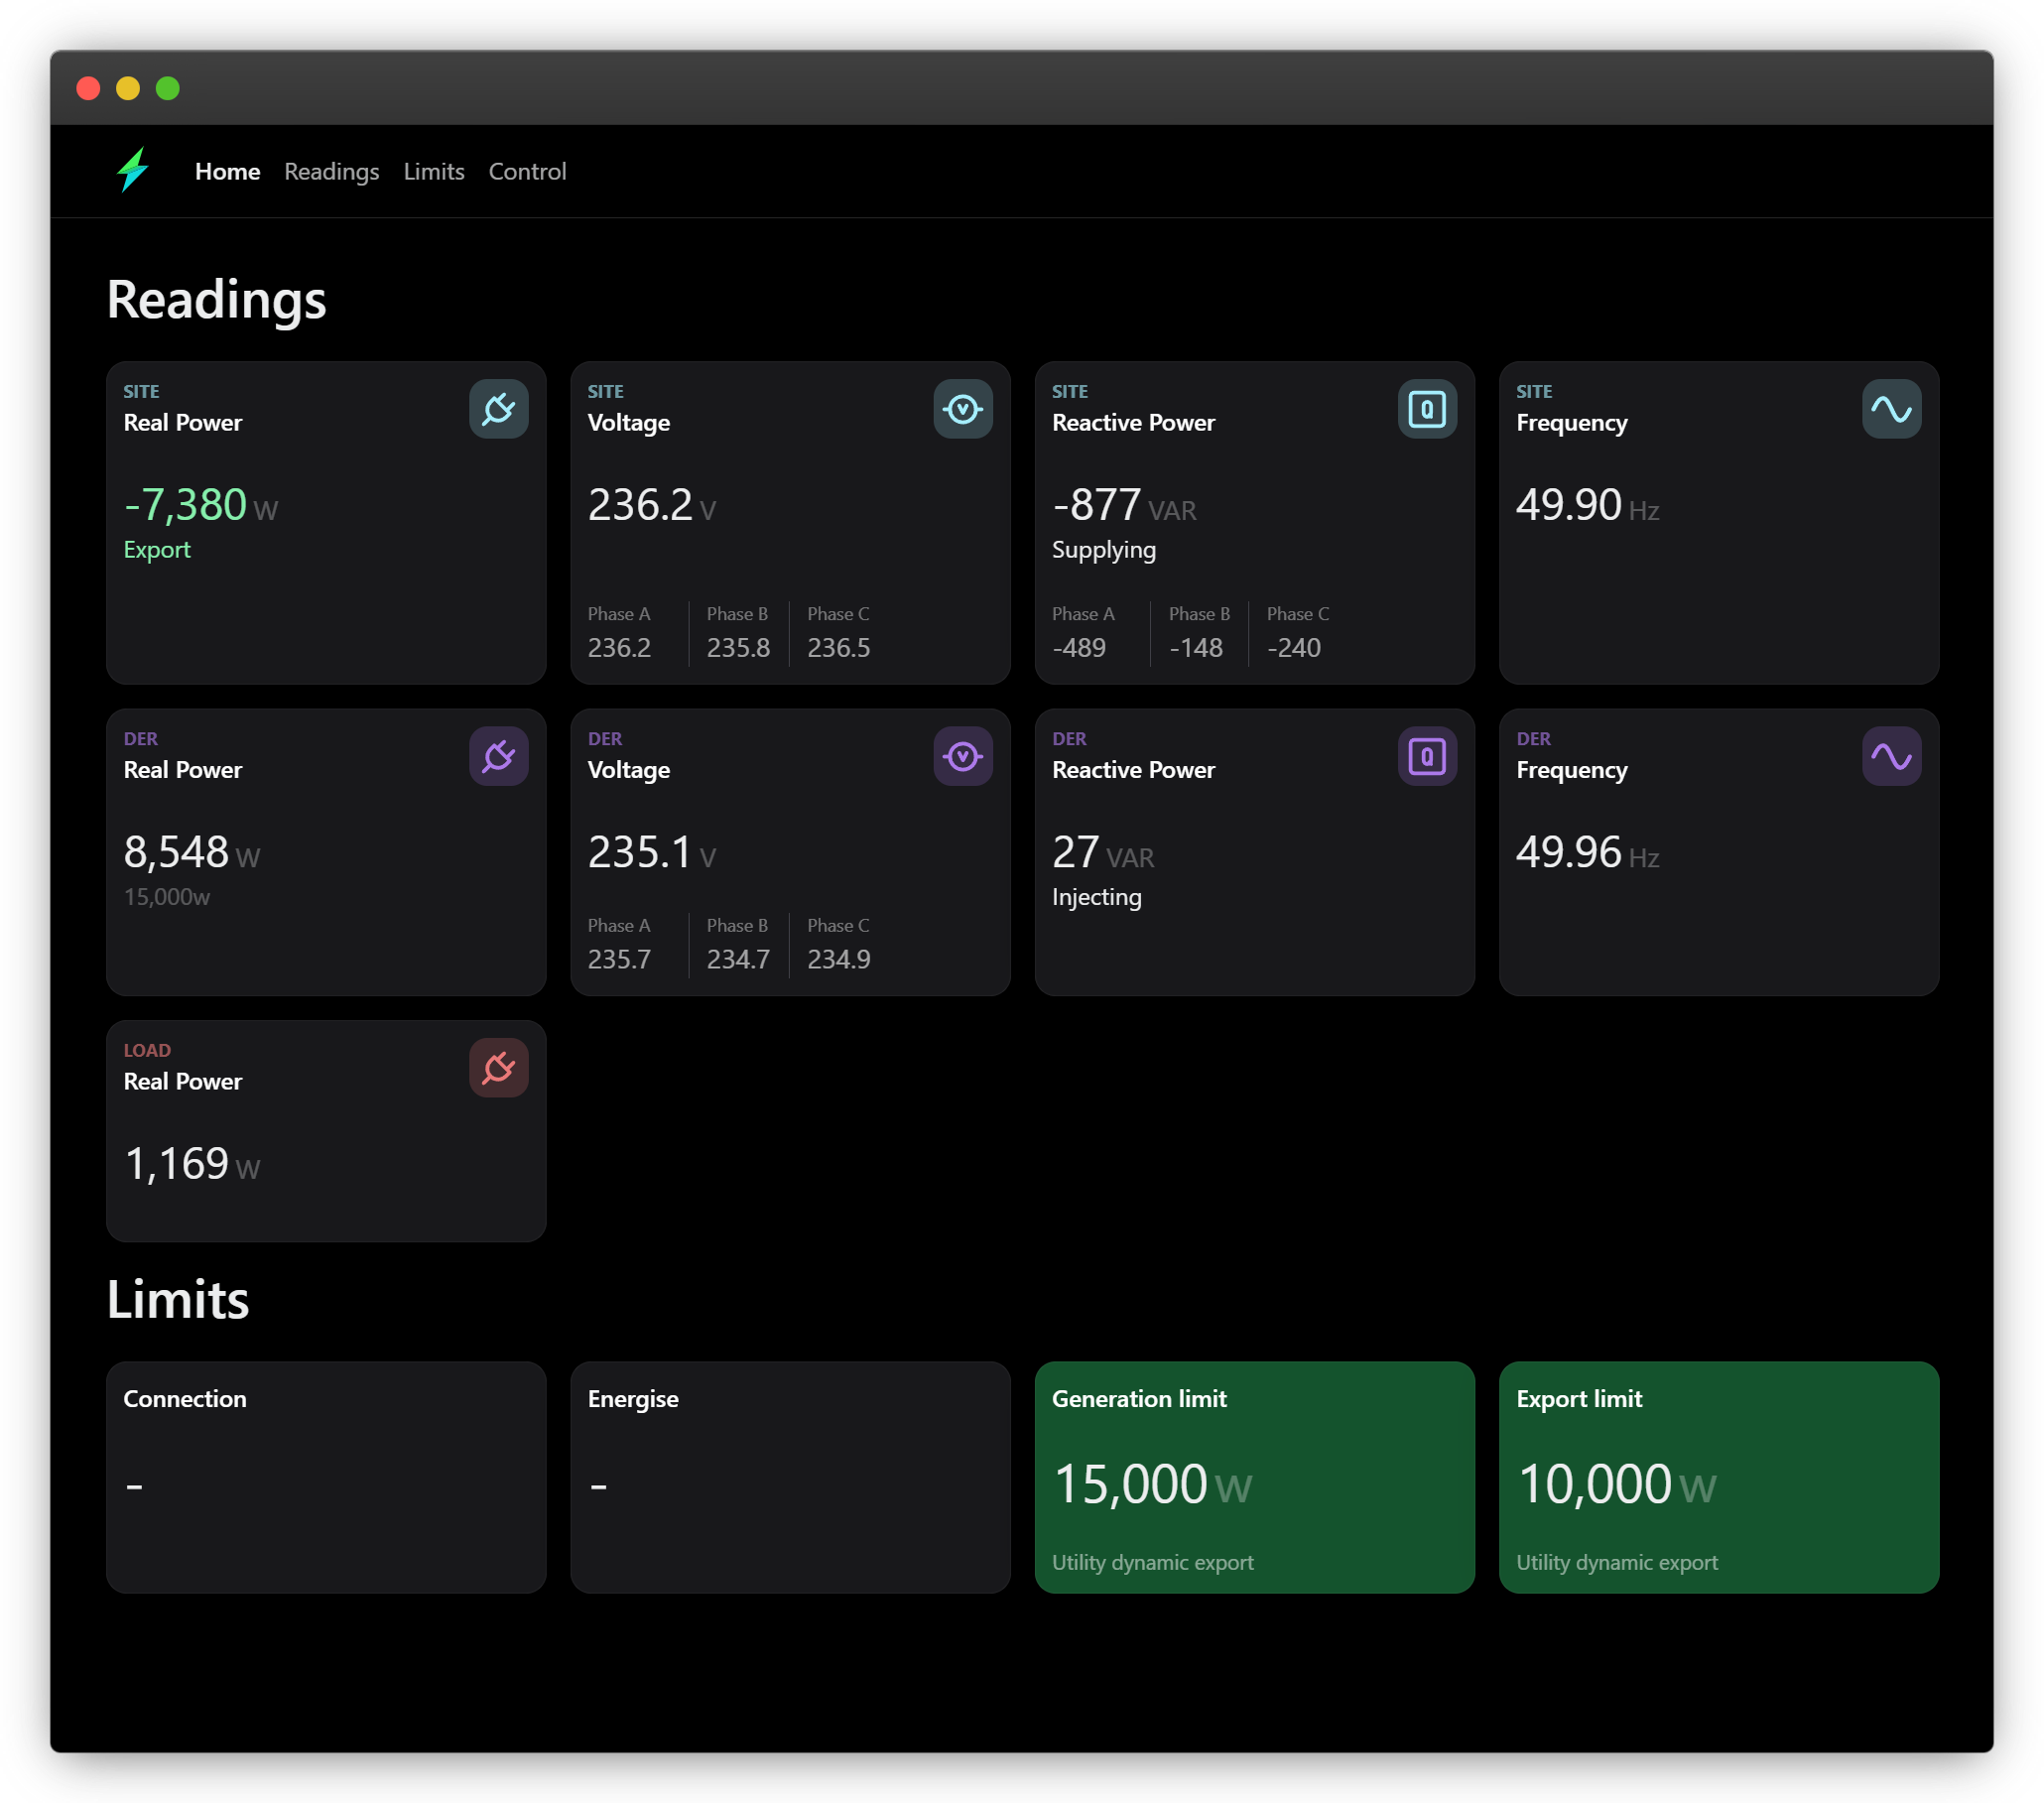
You can view the dashboard at http://localhost:3000 (or the server port you specified in the .env file).
